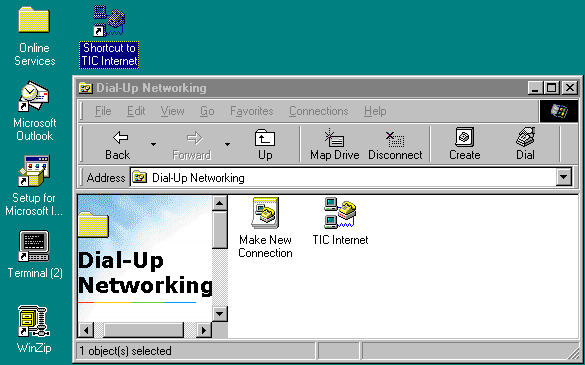

If you have alreay installed TCP/IP and Dial Up Networking, you are now ready to connect to the Internet. All you need to do now is configure the Dial Up Adapter.
Configuration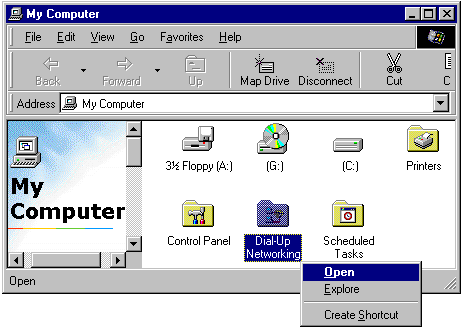
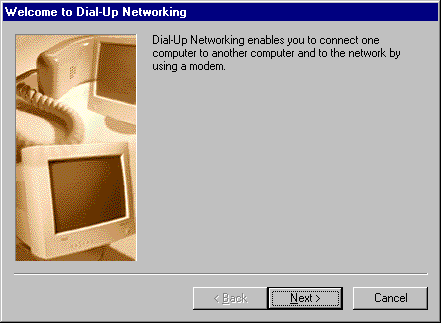
2)A Welcome to Dial-Up Networking window like the one below will open, click on Next.
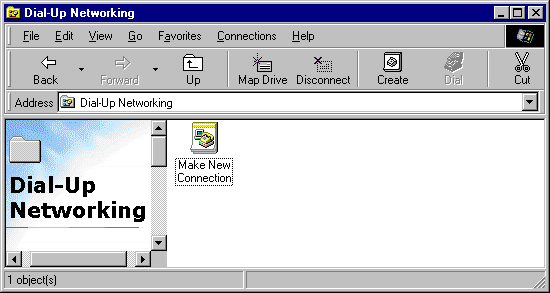
3)Double click on the Make New Connection Icon.
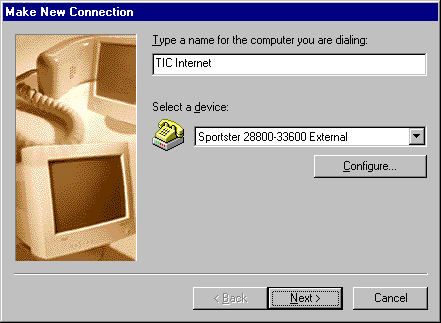
4)Follow the Make New Connection Wizard instructions below. The modem you are using may be different than the one displayed in the window. Make sure the appropriate modem that your system uses is displayed. After the boxes are filled out approp riately, click on Next.
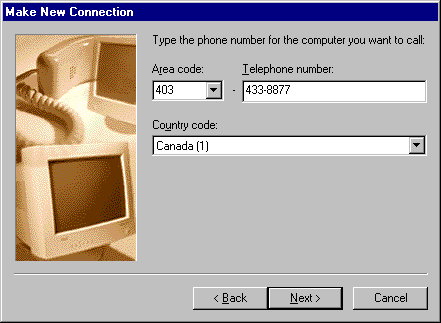
5)Fill out the phone number exactly as shown below then click on Next.
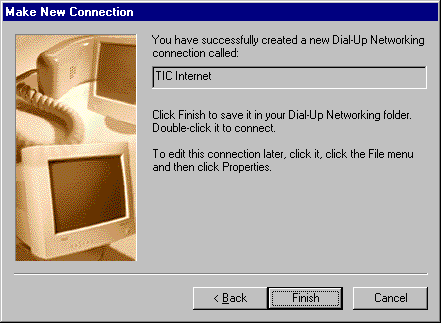
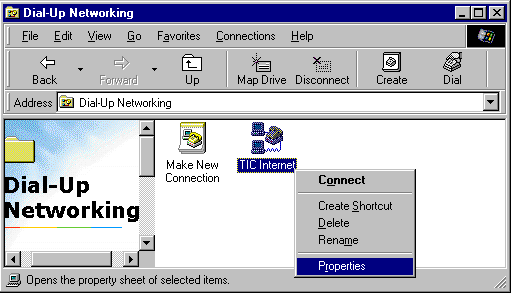
6)Click on Finish.You should now have a new item called 'TIC Internet' in your 'Dial Up Networking' folder Right click the 'TIC Internet' icon and select 'Properties',.
7) Select the 'Server Types' tab and configure it as shown below. Then click the ‘TCP/IP’ Settings button.
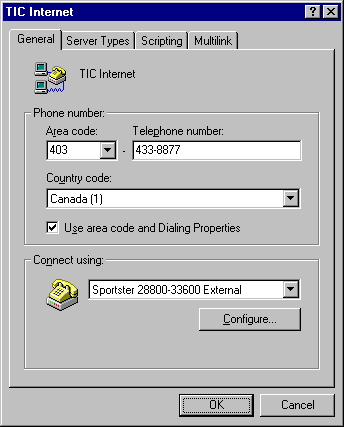 |
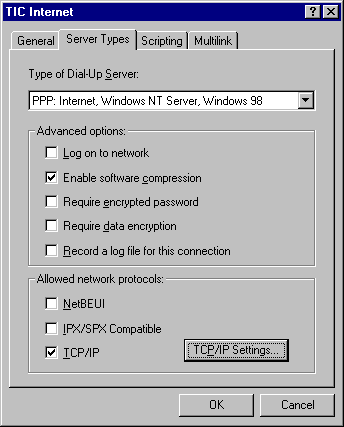 |
|
8)As shown below ensure that the ‘Primary DNS’ and ‘Secondary DNS’ numbers are entered properly. Once this is done, click ‘OK’. From the ‘TIC Internet General Tab ’ window, click ‘OK’.Your Dial
Up Adapter is now ready to connect you to the internet!
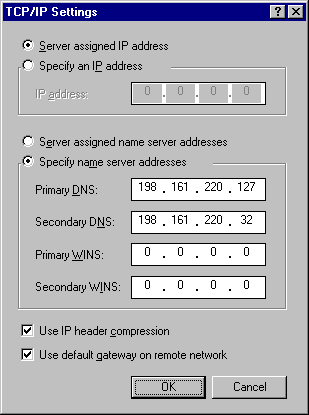
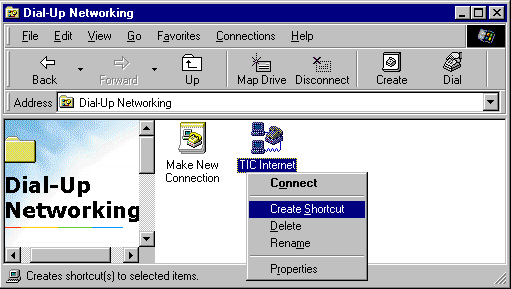
9) You can create a shortcut on your Desktop by Right clicking on the TIC Internet icon in the Dial-Up Networking window similiar to the one below. Then click on create Shortcut.
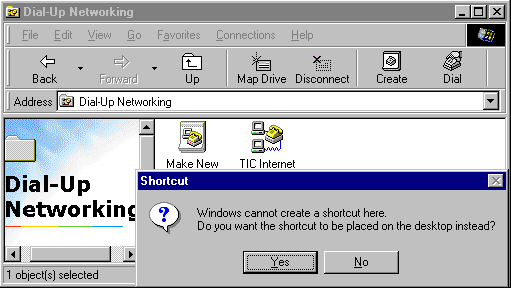
10)A Shotcut window will appear similiar to the one below click on Yes
11)A shortcut will then appear on your desktop like in the window below.
